Sunday, April 25, 2010

Ocean

In honor of our ocean unit I created this mini ocean/water table as a dramatic play area. I used a large plastic storage box and filled it with about 3 inches of water. This is enough water to play with but not so much that it is easy to splash it out of the container. I used food coloring to dye the water blue.
I taped bubble wrap around the desks that hold the water table to help minimize spilled water and to make the area more thematic.


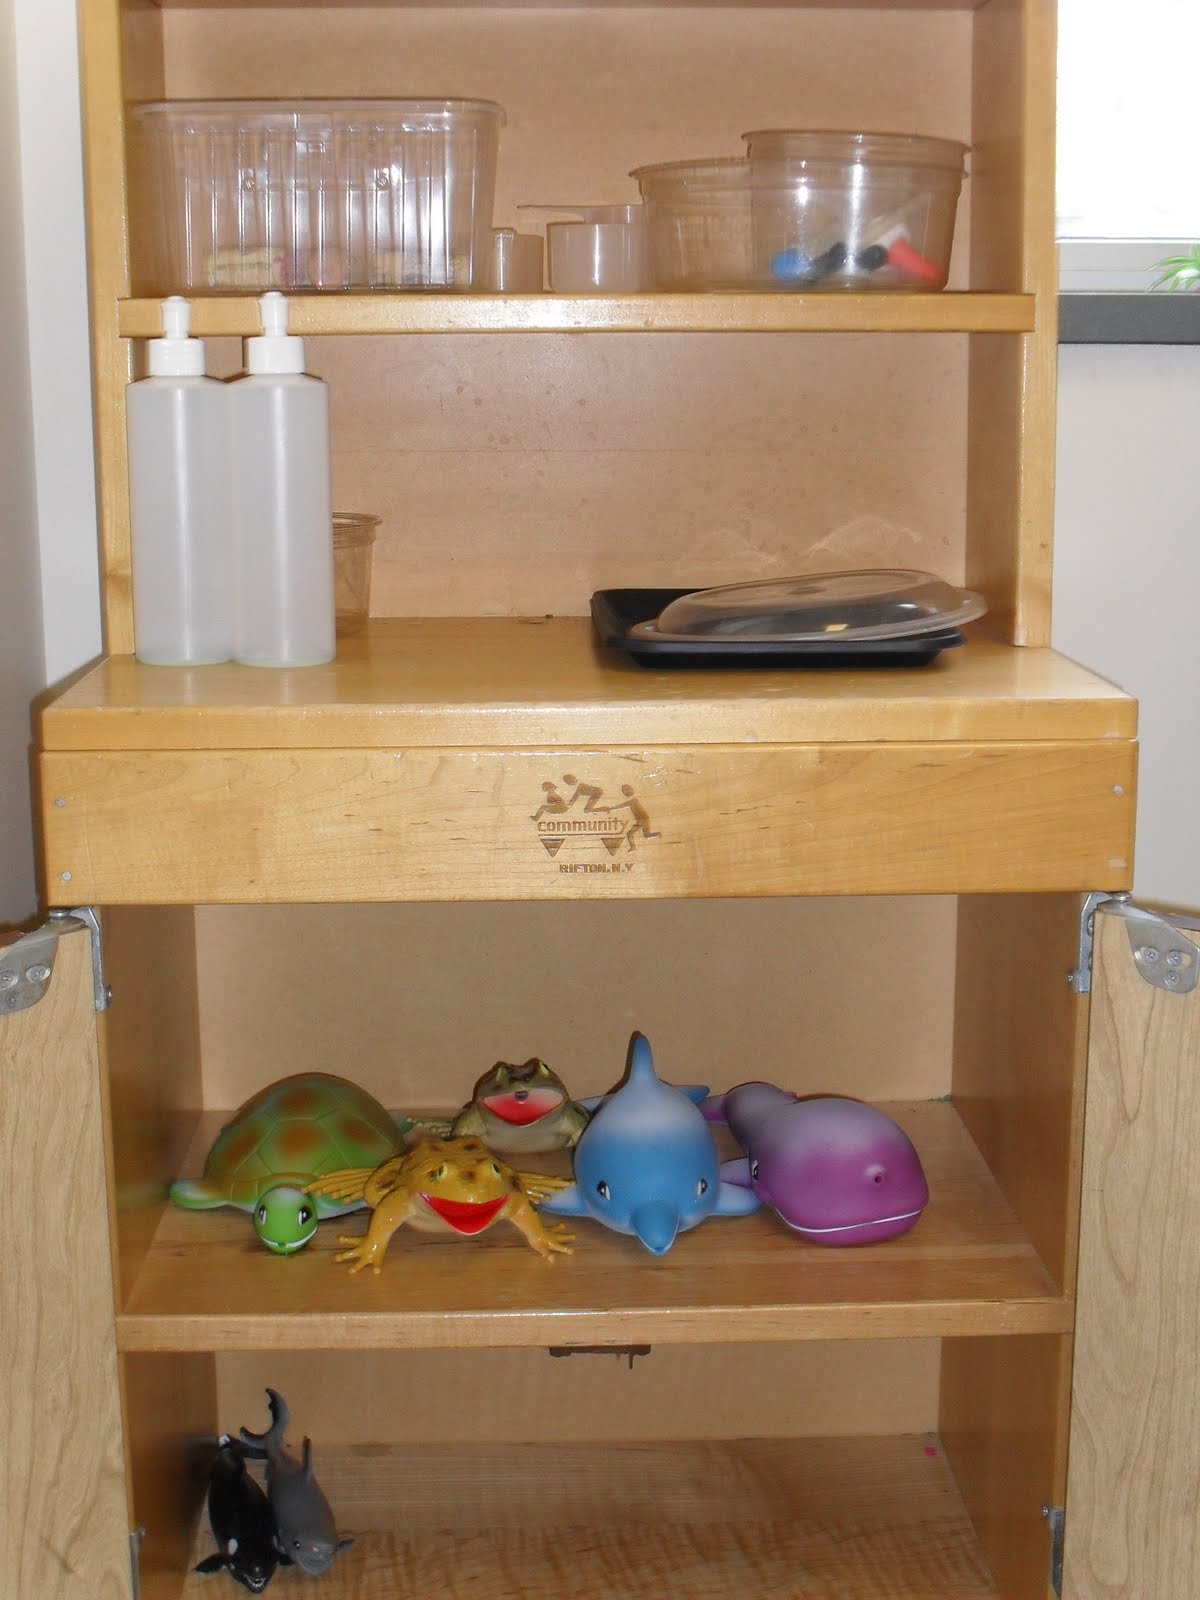
I added different types of containers, scoops, eye droppers, corks, basters and plastic ocean animals. The children really enjoy this sensory play and use problem solving skills when filling and emptying containers.
Management tip: I limit the number of students who can use the table to 4. I keep a check list of students who have used this area so that each student has the same number of turns.


Saturday, March 20, 2010

Shamrock Handprints

The hand print project for March is this festive green shamrock. After painting the child's hand green, I stamp the hand 3 times, fingers pointing toward the center of the paper, creating the leaves. The teacher or student can add the stem. We created the project quilt by alternating the shamrocks and tube leprechauns.


Animal Hospital

Children love animals and they love pretending. I created the animal hospital so that they could practice being veterinarians. This area includes an office desk complete with post it notes and animal themed papers, because every office has forms to fill out. The animals in this hospital include puppies, kittens, monkeys, birds, fish and rabbits.
The doctor tools are arranged on a tray for easy access and clean up. Dress up scrubs are available too.

Animals can be carried around in re purposed lunch boxes. Plastic containers serve as water and food bowls.


Q and U's Wedding

A wedding between letters Q and U helps reinforce these two and partners in words. It is a fun celebration with a literacy twist. Here are some ways we celebrate in my class.
The big Q and U are all dressed up and ready. Q's wedding veil is made of tulle that I found at thrift store.

I copied picture cards of words that start with /qu/ like: question mark, queen, quail, quilt and quarter. The gift boxes are CD gift boxes. I put enough pictures in each box so that each child could have a copy. As the gifts were opened, each child received one that he/she later glued to a Just Married paper, shown in the picture.
The girls made veils with sentence strips and real tulle. A little tulle goes a long way!(I learned the hard way that the veils should only be shoulder length, or they will get stepped on.) The boys made bow ties with tissue paper and clipped them onto their shirts with clothes pins. We had a real ring pillow and used plastic champagne glasses for the reception of milk and cookies.

Dazzlers

After the big 100th day celebration, Zero the Hero stops visiting and numbers ending is zero lose some of their enticement. I had the student make dazzlers on the 110th day of school to remind them that they are getting dazzlingly smarter every day!
We used clean baby food jars, added sticky back pictures, confetti and glitter. Then we placed the top on securely and shook them up. Dazzling! I showed the students that when they brought the dazzler home, they could fill it with water for more shaking fun. They were encouraged to ask an adult to check that the top was on tight!


Sunday, February 28, 2010

I will follow Jesus

This activity helps illustrate the theme of discipleship. I use it during Lent. Each student creates footprint stamps by making a fist and using the pinky side of the fist to stamp the foot and a finger to stamp the toes.
The footprint lead to a cross picture but this activity can be modified to fit any bible story.


Thursday, February 18, 2010

George Washington Portrait

In honor of President's Day we talk about the different presidents especially noting the observable differences between our 1st president and our current president. We talk about portraits and photographs and illustrate our learning by creating a portrait of George Washington. Each student traces and cuts out a circle on a white piece of paper and glues it to a base piece of construction paper. A face is then added to the circle.
A collar is created with half paper doily.

Then we add a powdered wig by using cotton balls or quilt batting. I make sure to tell the children to glue the construction paper and not the cotton.